Please edit your ZIP code or contact us for more informations
Visit more Schluter DILEX-HKS products


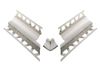
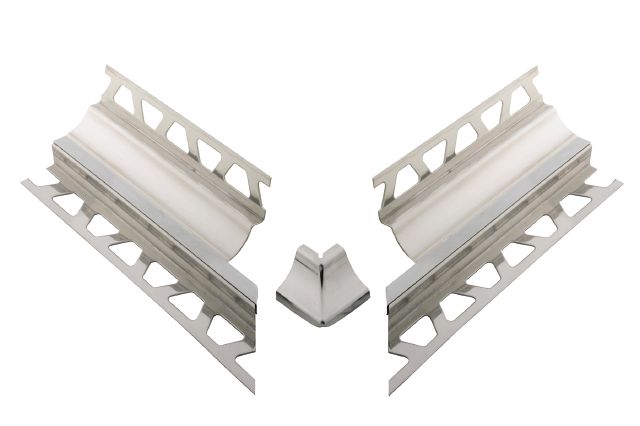
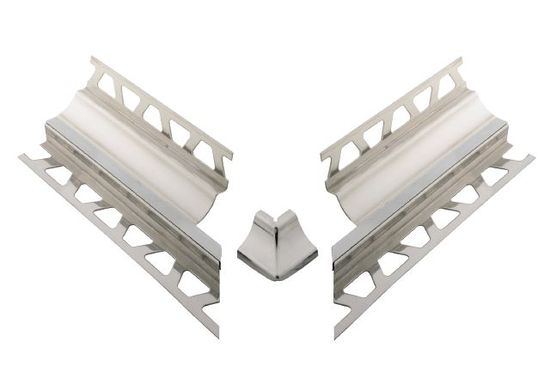
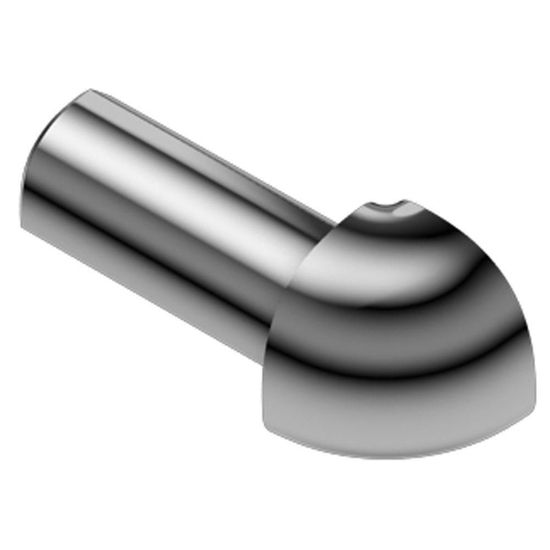
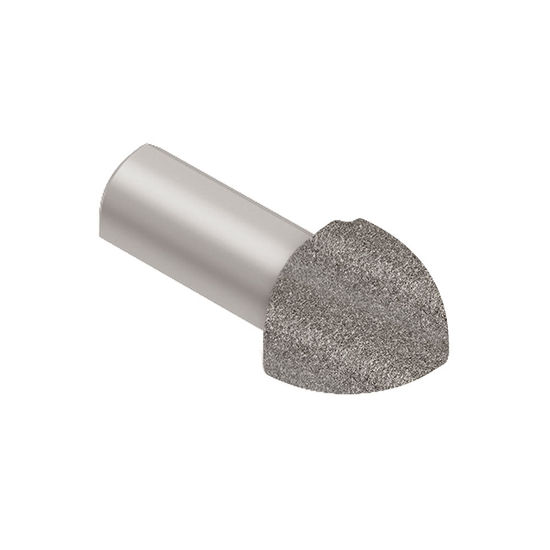
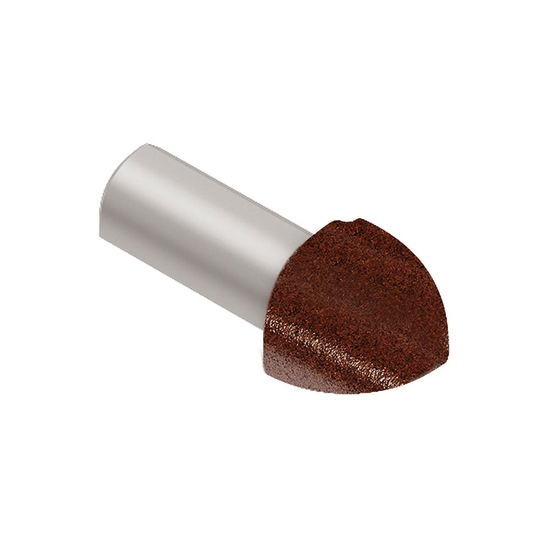
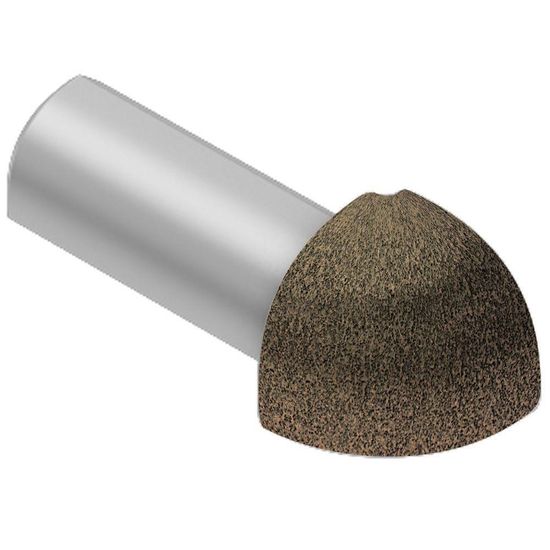
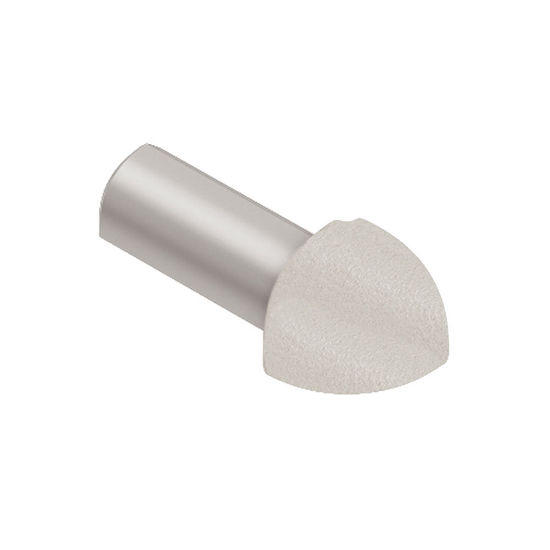
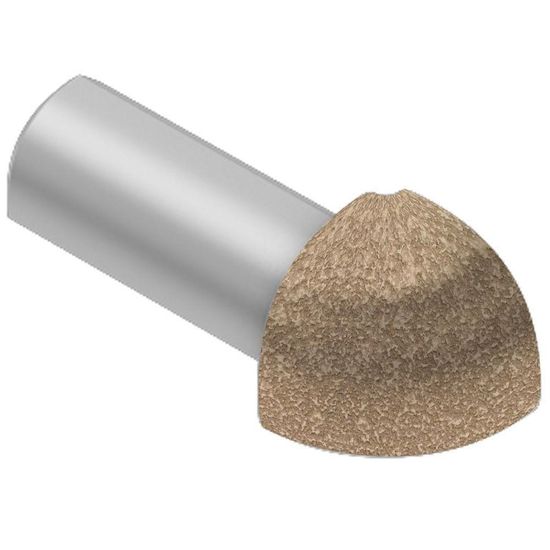
Schluter-DILEX-HKS features a soft, thermoplastic rubber movement zone that is attached to the profile via rigid rubber grip bars to absorb larger movements at floor/wall transitions and at inside wall corners. DILEX-HKS prevent surface water penetration and meet the maintenance and hygienic requirements of commercial kitchens, bathrooms, food-processing plants, and hospitals, or any tiled environment where a sanitary cove base is desired. Accessories for both DILEX-HKS include: inside and outside corners, connectors, and end caps. Also available by special order are 90° outside corners with 6” (150 mm) pre-cut profile sections. Maintenance : DILEX-HKS requires no special maintenance or care and are resistant to mold and fungi. Clean profile using common household cleaning agents. Stainless steel surfaces exposed to the environment or aggressive substances should be cleaned periodically using a mild household cleaner. Regular cleaning maintains the neat appearance of stainless steel and reduces the risk of corrosion. All cleaning agents must be free of hydrochloric acid, hydrofluoric acid, and chlorides. Stainless steel surfaces develop a sheen when treated with a chrome-polishing agent. The thermoplastic rubber inserts in DILEX-HKS are replaceable. Installation : 1. Select profile according to tile thickness and format. 2. Using a notched trowel, apply thin-set mortar over the area where the trapezoid-perforated anchoring legs will be placed. 3. Press the perforated anchoring leg(s) of the profile into the mortar. Note: Install inside and outside corners, connectors, and end caps prior to setting tile. DILEX- HKS accessories are applied using a permanently elastic, waterproof adhesive (e.g., KERDI-FIX or silicone). Prior to application, any contact-inhibiting substances (e.g., grease, etc.) must be removed. The connectors should overlap the profiles by at least 3/8" (10 mm). 4. Trowel additional thin-set mortar where the tiles are to be installed. 5. Solidly embed the tiles, ensuring full coverage and support of the tile edges, and align flush with the top of the profile, leaving a joint of approximately 1/16" – 1/8" (1.5 - 3 mm) between the tile and the profile. 6. Fill the joints completely with grout or setting material.
SKU: E90V4AU10/O9PG
Special order

SKU: EV/RO90EB
Special order
SKU: EV/RO90E
Special order
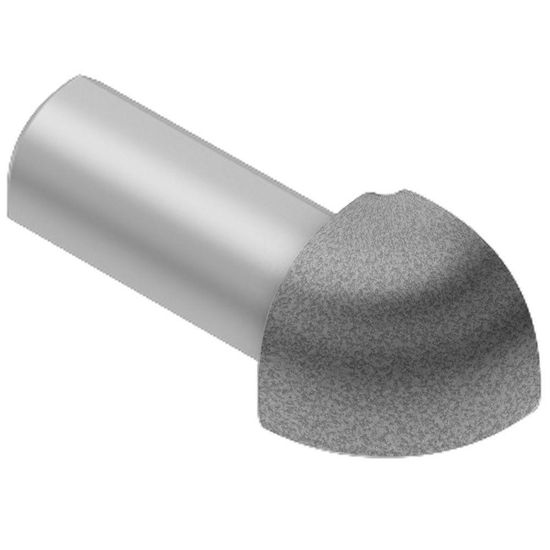
SKU: EV/RO80TSR
In stock

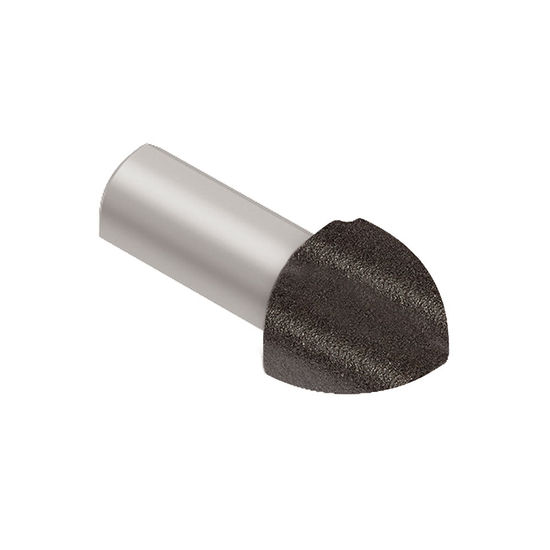
SKU: EV/RO80TSLA
In stock
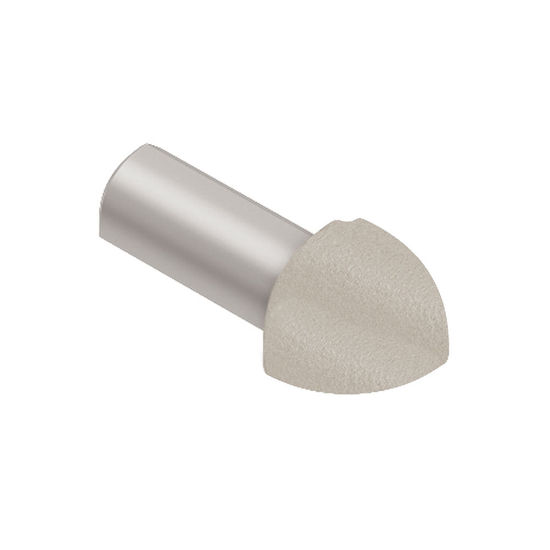
SKU: EV/RO80TSDA
In stock

SKU: EV/RO80E/V4A
Special order

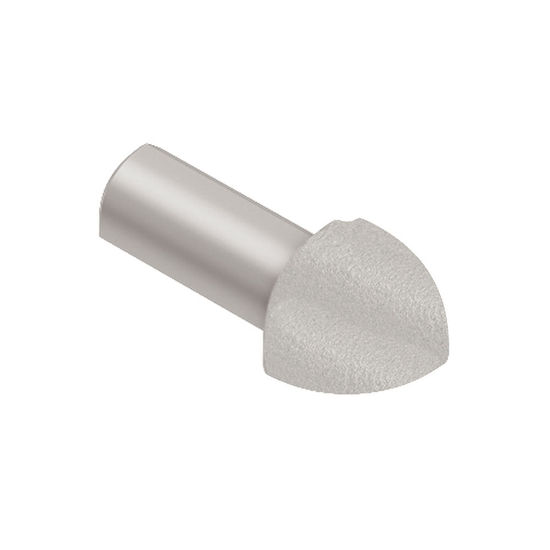
SKU: EV/RO80EB
In stock